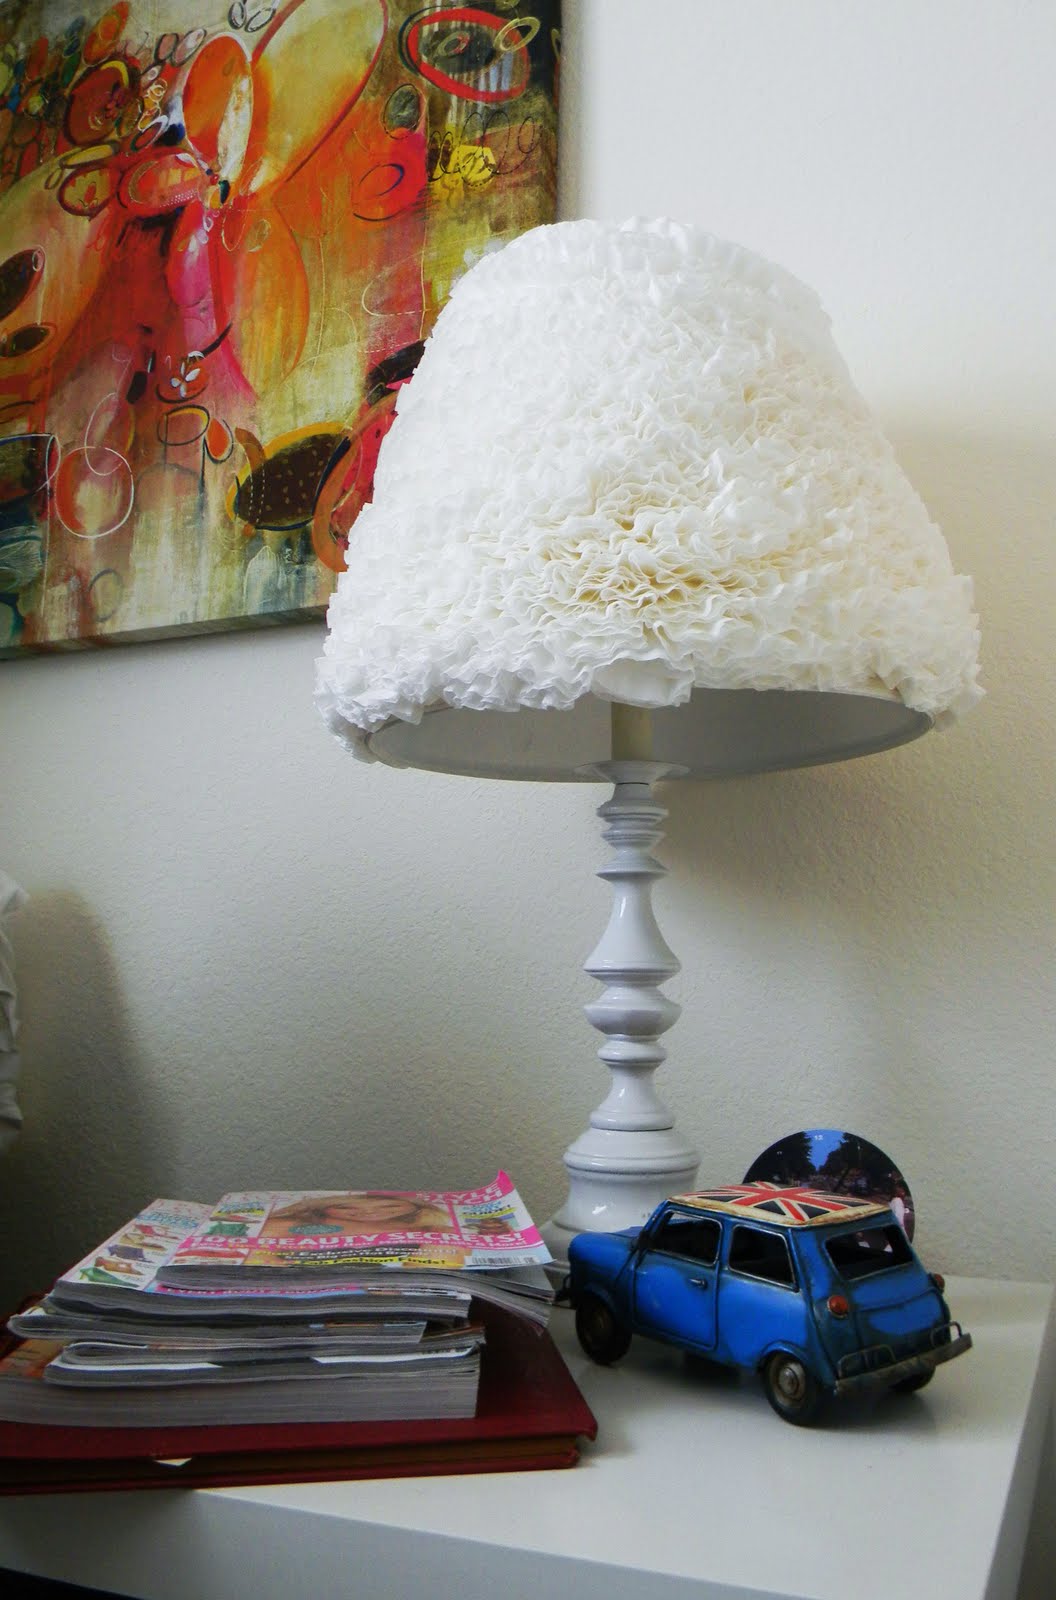
The other day, I was browsing the internet trying to get inspiration for ideas on covering my lampshade. It was plain white and I wanted to add something to it. Luckily, I found this blog detailing an extremely easy and creative way to make a pretty ruffled lampshade for virtually no money! She used coffee filters to give it the look. So I'm going to show you how I did mine!
 1. Fold the coffee filter in half
2. Fold it in half again...
3. Fold it in half one last time..
4. Fold a little triangular shaped crease at the tip (which is the part you will be gluing onto the shade)
5. Start gluing!
This project took me about 6-7 hours in total. It did get boring at times but when you've missed three episodes of gossip girl and need to catch up, this didn't seem so bad=). And after the first couple hundred coffee filters, you can pretty much do it with your eyes closed! I used tacky glue to glue on the filters but you can also use a glue stick or a glue gun. In total I used 520 coffee filters and it was so worth it! The project only cost me $5.
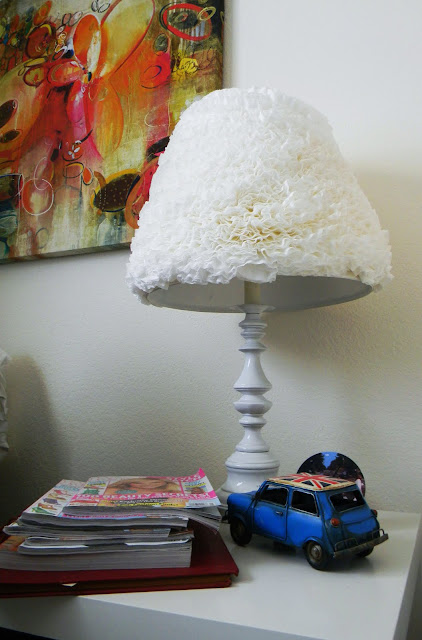
 How pretty is it with the light on?! These pictures just don't do it justice. Hope you enjoyed!

2. Fold it in half again...
3. Fold it in half one last time..
4. Fold a little triangular shaped crease at the tip (which is the part you will be gluing onto the shade)
5. Start gluing!
This project took me about 6-7 hours in total. It did get boring at times but when you've missed three episodes of gossip girl and need to catch up, this didn't seem so bad=). And after the first couple hundred coffee filters, you can pretty much do it with your eyes closed! I used tacky glue to glue on the filters but you can also use a glue stick or a glue gun. In total I used 520 coffee filters and it was so worth it! The project only cost me $5.